
Thursday, April 5, 2018
Monday, July 25, 2016
Trying to get back into the swing of things...
Holy hot damned pancakes it's been a flipping long time... I think I went full on A.D.D. with electronics for a while. I tried building an 8x8x8 LED cube with a friend and never finished it. I still have an illogical, but undying hate for 8 bit shift registers. I mean it's almost done, but I apparently got the wrong kind of bit shifters and need to spend around $3.50 to get the right ones, but just haven't been willing to put in the order yet.
 |
| Damned thing is like 90% the way there..... stupid bit |
Then I got sucked into 250 sized drone racing. Which I will admit is fun as hell when you're wearing goggles and looking out the nose of that little whirlybird flying around at nearly 80mph. Although they really should offer some kind of warning to those of us that tend to tinker that it will be a non-stop time sink of tinkering, crashing, repairing and upgrading, followed with more tinkering and then days spent tuning it until it's perfect only to crash it within a few hours of getting a bit too cocky with the controls and then it's back to another round of repairs and tuning. Sadly I think I enjoy the tinkering and tuning almost more than the time I get to actually fly it which in Juneau is around 20 days a year when there isn't massive winds or a torrential downpour of rain for weeks on end. I am looking forward to winter flying and have been reading up on how the cold affects the batteries on these things. Sadly I've been bitten by the bug and now I also want to build a 400 sized drone with a really nice gimbal mount for my gopro for sweet, sweet cheese shots of Juneau from the sky. Which leads me into my next massive time sink...
 |
| Can't stop tinkering with this damned thing... |
I ended up purchasing Sony Vegas Pro 13 on a huge sale for a relatively good price. While I would have preferred to get Adobe Premiere and After Effects I couldn't bring myself to buy into their monthly software rental program as a single year of that would have cost me six times what I spent for Sony Vegas Pro which I own outright and can use for the next decade if I want to. So I've dumped 100's of hours into learning that piece of software through watching YouTube tutorials and just playing with all its features. I still don't think I have the eye for cutting pieces of video together. As most of my jump cuts look like some kind of a test for epilepsy, but I'll figure it out eventually or be sued by some poor bastard that unfortunately found out they were epileptic due to watching one of my videos.
Saturday, November 14, 2015
Clawing my way out of the hole I've dug for myself
So...... Ummm.... Yeah.

So you know things aren't going all that great personally when you throw yourself into your work and don't do much of anything else. Eventually though it either kills you or you find a way to turn that corner and get back to the things you care about. I'm still not sure if I'm actually turning that corner or just kidding myself, but I figure things have got to change and while I've been trying to pull myself up by my bootstraps I realized that's actually impossible and it's time to get back to basics and start slowly clawing my way out of this hole I've dug.
I've been playing around with the MSGEQ7 chip for building graphic EQ's with LED's as I never completely finished the LED cube project from last winter/spring and am trying to get myself up to speed so I can finish the cube with all the add ons I really wanted. To achieve that goal I figured it would be best to break out the various components into their basic pieces and begin building them into their own circuits so I could narrow my focus and learn each component individually. Which means I need to get a better understanding of all the new IC's and chips I've never dealt with before. While playing around with the MSGEQ7 I became curious about how it actually breaks apart audio into individual frequency bands and that led me to spending an inordinate amount of time learning about the Discrete Fourier Transform equation. Which in and of itself created a lifetime worth of further research since it's the corner stone of nearly all digital signal processing and is also a key component of a lot of encryption and in general is just really mathematically fascinating as it feels like the swiss army knife of math equations for programming some really interesting things.

Friday, March 6, 2015
8x8x8 LED cube

It's been quite a while since I've updated this page. I've had a lot of stuff going on for the past three years and sadly very little of it involved building electronics. I might get into that on some other post, but right now I'm just posting to let you know I'm back and currently in the middle of teaching a good friend how to build and program digital electronics. So we're both building ourselves our own 8x8x8 LED cubes. I've been documenting the process and have been kicking around the idea of creating an in depth guide on how to do it all, but there are some really good guides already put out there by people and I've been following closely one person's guide in particular on Instructables. His user name is "chr" and his guide is very deep with nearly half of it devoted to explaining how the code on the Arduino works and how to modify it to your liking.
Led Cube 8x8x8 by chr on Instructables
http://www.instructables.com/id/Led-Cube-8x8x8/
Jameco BoM for chr's 8x8x8 LED Cube with schematics
http://www.jameco.com/webapp/wcs/stores/servlet/Product_10001_10001_2168940_-1
Jameco also has essentially the build with a parts list on their site. I ended up ordering a few parts off their website, but I got most of it through eBay as I was willing to wait 2-3 weeks for it to be shipped from China or Hong Kong. The pictures are of my test 8x8x8 cube using 3mm red LED's although the two final cubes we're building are going to be 5mm super bright red LED's. I had a few thousand 3mm LED's laying around and figured I should use them as a test since our build is based around the idea of making loops on the LED's legs and then creating rails from bare copper 18gauge wire to run through all the LED's looped legs. It works well, but there were lots of challanges in trying to build it that just aren't present when building 3, 4 or 5 by cubes. For one it was a giant PiTA to reach the 4 central columns with the soldering iron initially, but part of the fun and sense of accomplishment in these kinds of projects is figuring out how to overcome the hurdles that continually get placed in front of you. Well, I'm posting this during a lunch break that is almost over so I'm cut this post a bit shorter than I'd been intending. Expect updates to start becoming somewhat regular again as I start documenting the various projects.
Right now I'm trying to finish up the 8x8x8 LED cube build, but after that I've already got most the parts for a couple smaller projects I'm really excited about and there's always my electronics white whale to contend with which would be finishing that RepRap Prusa 3D printer I started 3 years ago and then got sidetracked with a very intense 2 year long relationship that left me torn up and spit out.


Wednesday, May 23, 2012
Busy last week, but not with the 3D printer
 |
| The view from my kitchen table, Juneau and the Gastineau Channel |
Sunday, May 13, 2012
I started building my 3D printer on Saturday

Friday, May 11, 2012
Saturday.... I get to start building it... no, really....

Thursday, May 10, 2012
I think all my 3D printer parts are in
 |
| 1 kilogram spool of PLA plastic @ 3mm diameter |
I went through all the hardware for my 3D printer and besides missing a couple washers it looks like I'm all set to build a reprap Prusa Mendel v2.
 |
| Hobbed Bolt for the filament feed on the 3D printer |
I got another notice in my mailbox that I've got another package. This should be for the digital calipers and infrared thermometer which are needed for the calibration process. I tried to pick up the package this morning, but the apartment's office was closed. I should be able to grab the package before the weekend which means I'll be building the frame and hopefully mounting the electronics this weekend.
 |
| Threaded Rod and Linear straight rod for the 3D printers frame and print bed. |
Friday, May 4, 2012

Thursday, May 3, 2012
Disruptive Technology

I've grown somewhat weary of WIRED magazine in the last decade, but they still have some amazing articles from time to time. Right now they are covering the Disruptive By Design conference in New York City.
http://www.wired.com/epicenter/2012/05/you-didnt-know-you-needed-it/
Daniel Pink on Disruptive technology...
Disruption is giving the world something it didn’t know it was missing. Three years ago, did you know you were missing an iPad? Ten years ago, did you know you were missing a web browser? Perhaps the savviest of Wired readers did, but the majority of us only knew we wanted these things after we’d experienced them in some way. Now that they’re a mainstream part of our lives, we couldn’t imagine life without them.
I really hope 3D printers will be a disruptive technology in the next 10-15 years. I think they have the potential to make us look at the way we do a lot of things now and realize how asinine many aspects of intellectual property is.
Monday, April 30, 2012
TimeLapse Camera hack

DIY Shutter Release Cable for Canon Cameras
CHDK Wiki
Saturday, April 28, 2012
Lulzbot Order came in
 |
| RAMPS 1.4 board from Lulzbot, seated on an Arduino MEGA 2560 from BuyInCoins |
My LulzBot.com order came in on Thursday, it was securely packed with bubble wrap and everything came through the mail in good shape. Now I have to wait for the rest of the hardware to be shipped on Monday so I'll hopefully be able to start building it next weekend. I'm hoping I haven't forgotten anything major so I can start building it right away.
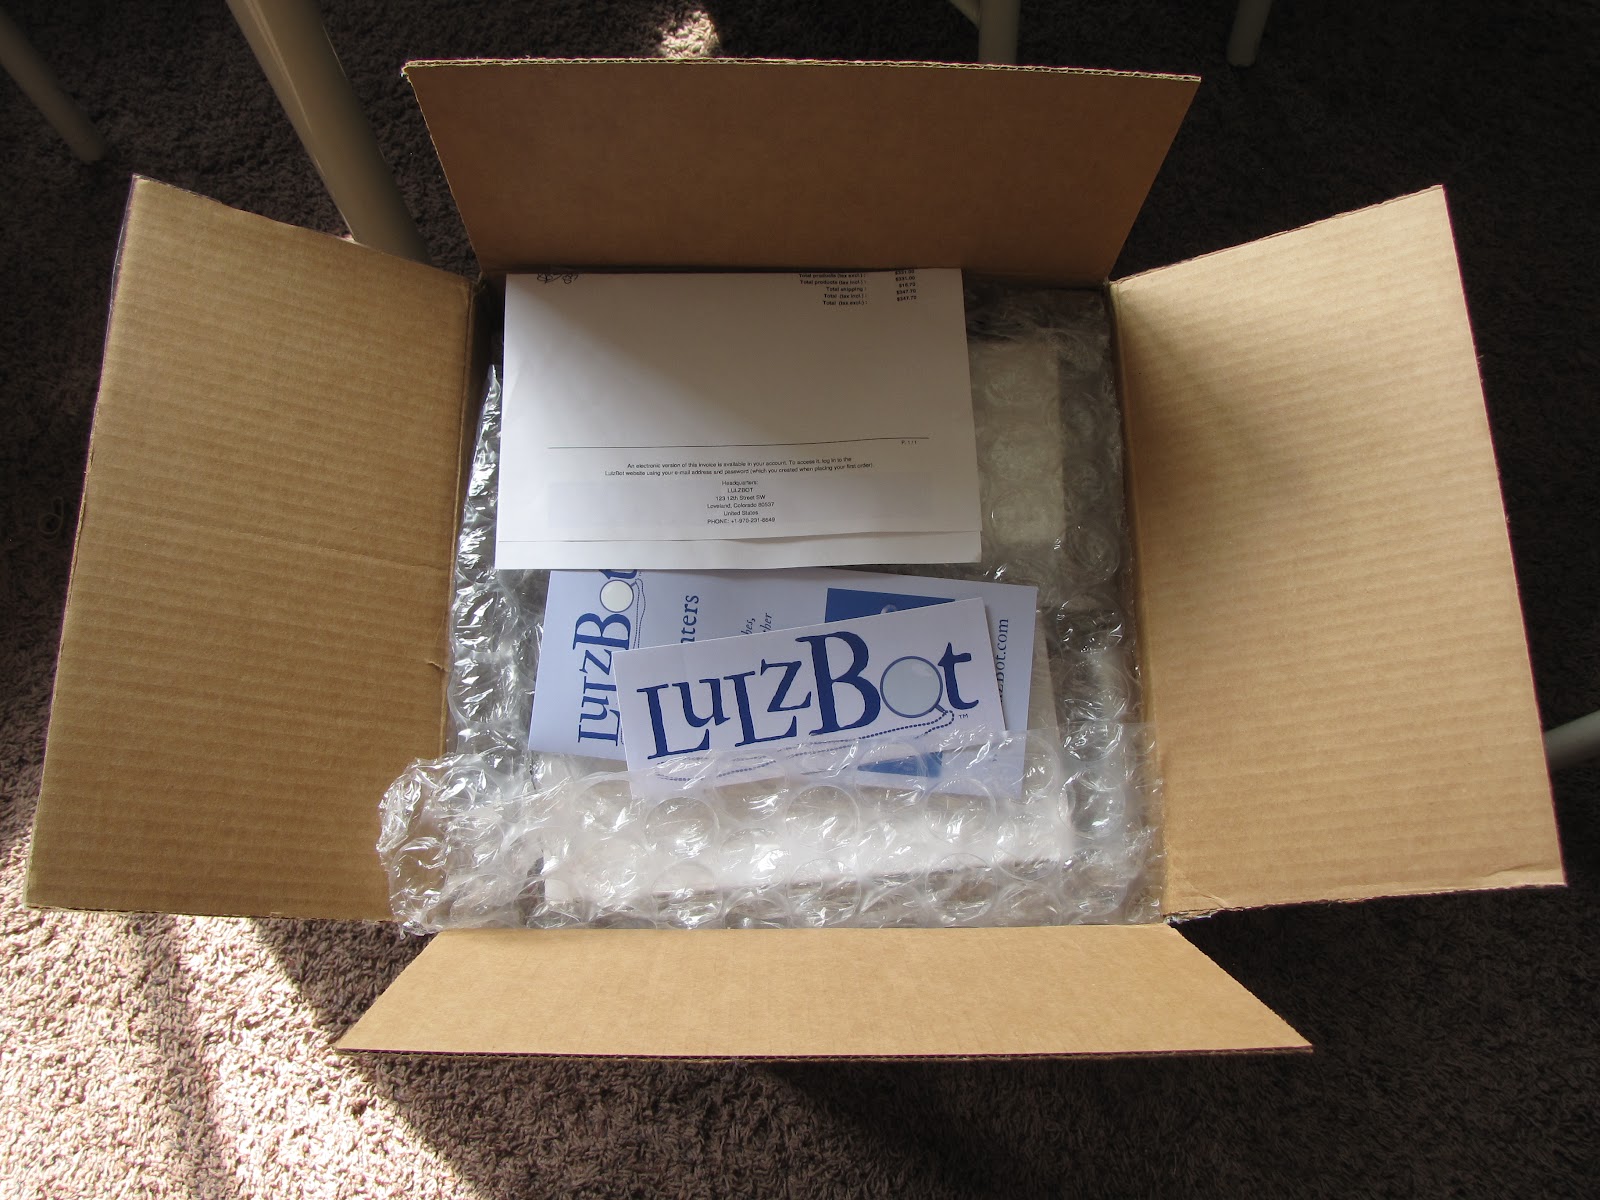 |
| LulzBot order came in, bubble wrapped up and protected. |
 |
| Budaschnozzle 1.1 for my Reprap's hothend, boxed up and secure |
 |
| Budaschnozzle 1.1 with .5mm extruder tip |
 |
| Budaschnozzle 1.1 Profile |
 |
| Budaschnozzle 1.1 |
 |
| Budaschnozzle 1.1 |
 |
| Wires and connectors for Budaschnozzle 1.1 |
 |
| SDRAMPS card reader modification for the Reprap Prusa Mendel (top) |
 |
| SDRAMPS Card reader modification for the Reprap Prusa Mendel (bottom) |
 |
| Mechanical Endstop Switch |
 |
| Mechanical Endstop Switch (reverse side) |
 |
| Pololu A4988 Stepper Motor Driver, Assembled (top) |
 |
| Pololu A4988 Stepper Motor Driver, Assembled (bottom) |
 |
| RAMPS 1.4 board (top), you also need four Pololu A4988 stepper motor drivers to mount to it. |
 |
| Wiring for the RAMPS board |
 |
| 6 Ohm resistor for heating the hot end of the extruder |
 |
| 100k Epcos Thermistor |
 |
| 100k Honeywell Axial Thermistor |
Friday, April 27, 2012
Reprap Prusa Mendel Quality questions
I've been trying to figure out what it takes to build a Reprap printer as well as it's limitations and just what the level of difficulty is to actually achieve good quality 3D prints. Of course good is a relative term and what I think looks pretty good below, could end up looking like a dot matrix print next to a modern laser printer's output in another ten years.
The quality is good enough for what I want to do, which is building very customized cases for my electronics projects and so many, many other awesome things I haven't even thought of yet. If a year ago you would have told me when I was first learning how to program Arduino's and build basic electronics that in another year I'd be building my own 3D printer I'd never of believed it. So why not just build a 3D printer and see what that leads me to next. Deep down, I'm really hoping these printers will get to be high enough quality and simple enough to use in the next 10 to 15 years that for under $500 you could have a high quality 3D printer that can print in colors on the fly and have incredible detail and not require massive amounts of technical understanding to use. I have also been a fan of open source groups that make it possible to contribute back to the community to potentially help refine the process and quality of 3D prints through software and hardware hacking. This whole DIY 3D printing movement is going to pioneer a whole new generation of engineers, coders and tinkerers as well as having the potential to radically change how we think of .
 |
| Best detail I can hope to expect from a current Reprap printer. (This was many pieces printed and put together like a model) |
 |
| On the left a DIY 3D printer, on the right an "inexpensive" pro 3D printer |
 |
| A calibration test print The item on the right was printed before calibration was totally dialed in. |
Thursday, April 26, 2012
There's a top 10 list for everything...

While doing some digging through the Google heap for some inspiration for Arduino projects I stumbled across a website called Nothing But Reboots that had a post from January 2012 about the Top 10 Arduino Projects. Most of the top 10 were links to youtube videos and a few were really damned cool. My favorites was the oscilloscope, RFID sensor and the Wii remote hacking to track it's accelerometers.
Oscilloscopes and Arduino's
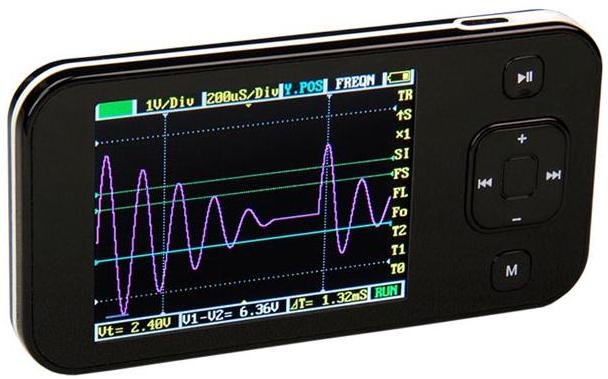 |
| ARM Oscilloscope DSO-201 Nano (Mini 2.8in) Digital Oscilloscope |
I figure building a really simple oscilloscope with an Arduino will let me learn the basics of how to use one. Plus if it does turn out to be useful I'll probably have a better idea of what kind of specs I'll need as there seems to be a big price difference depending on the sampling rate and number of inputs it has. Although in the $400 price range they start to come with a few more bells and whistles. Seems like that might be around the price range if I wanted one that would give me a little room to grow into it as I keep building bigger and ever more complicated circuits.
 |
| OWON SDS7102 100Mhz Oscilloscope 1GS/s 8" Color LCD USB FFT 2 + 1 Channel |
Subscribe to:
Posts (Atom)